SO-ARM100 机械臂安装 SOP
SO-ARM100机械臂安装SOP
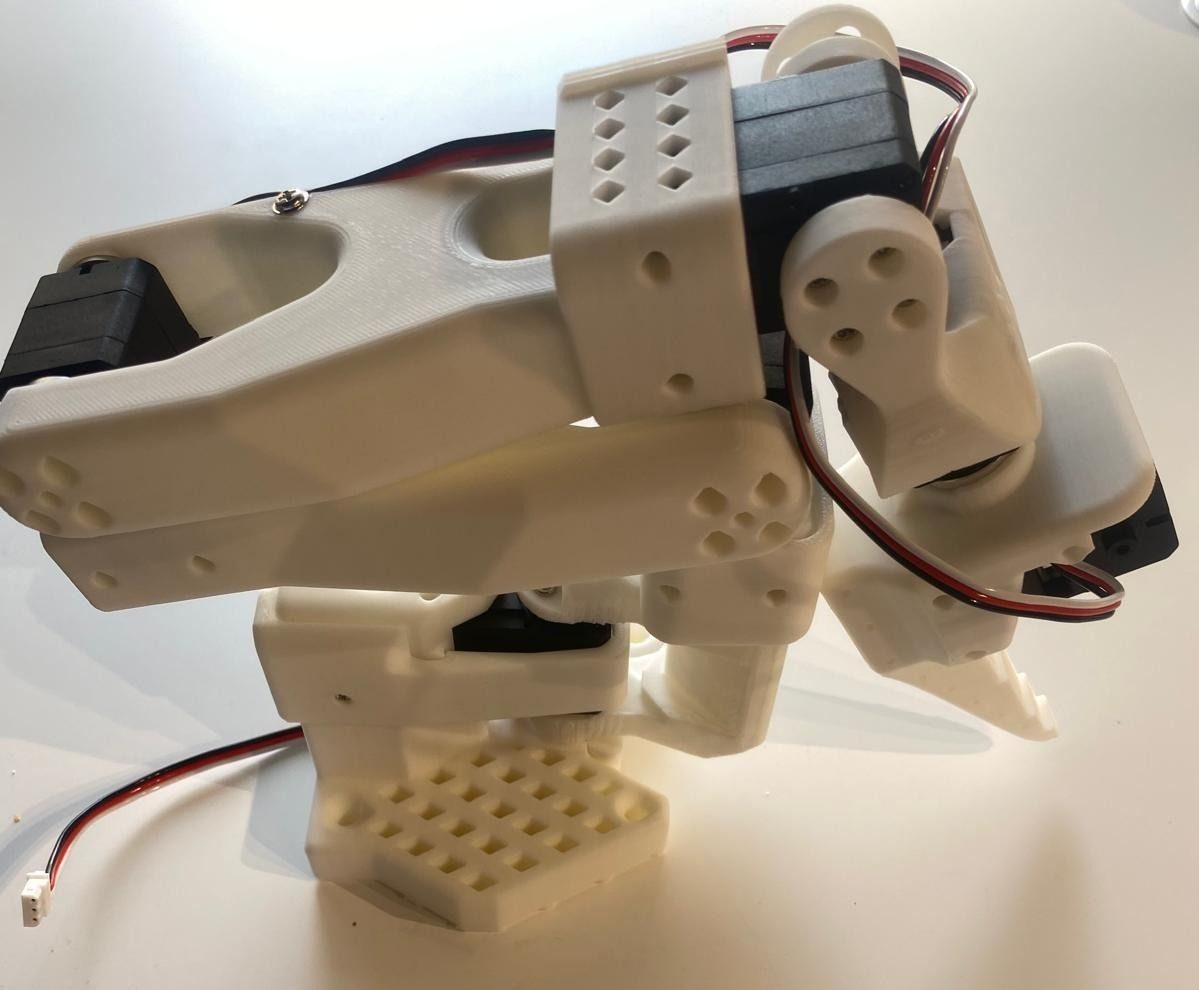
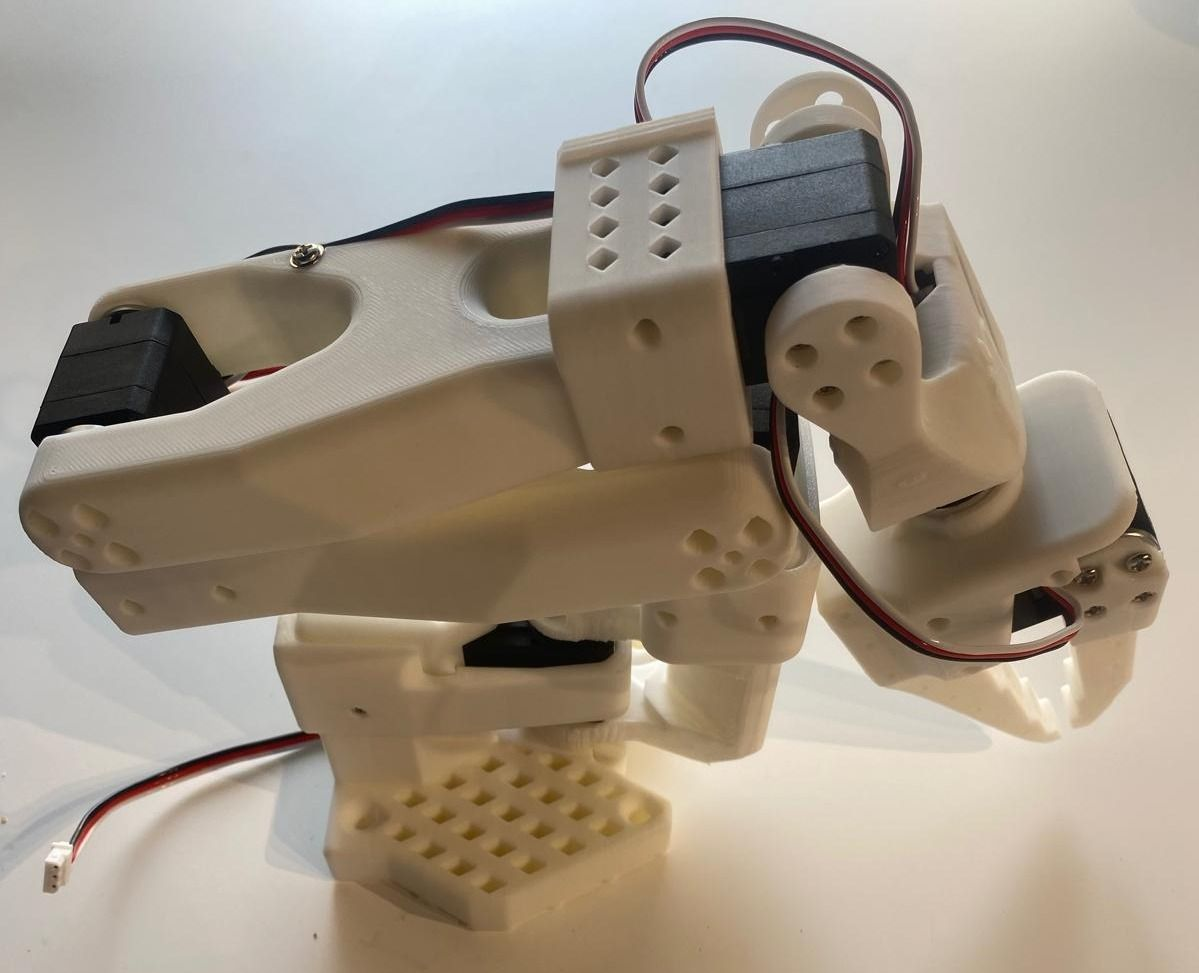
1. 机械臂组装
1.1 步骤 1
清理3D打印件上多余的部分
1.2 1号舵机组装
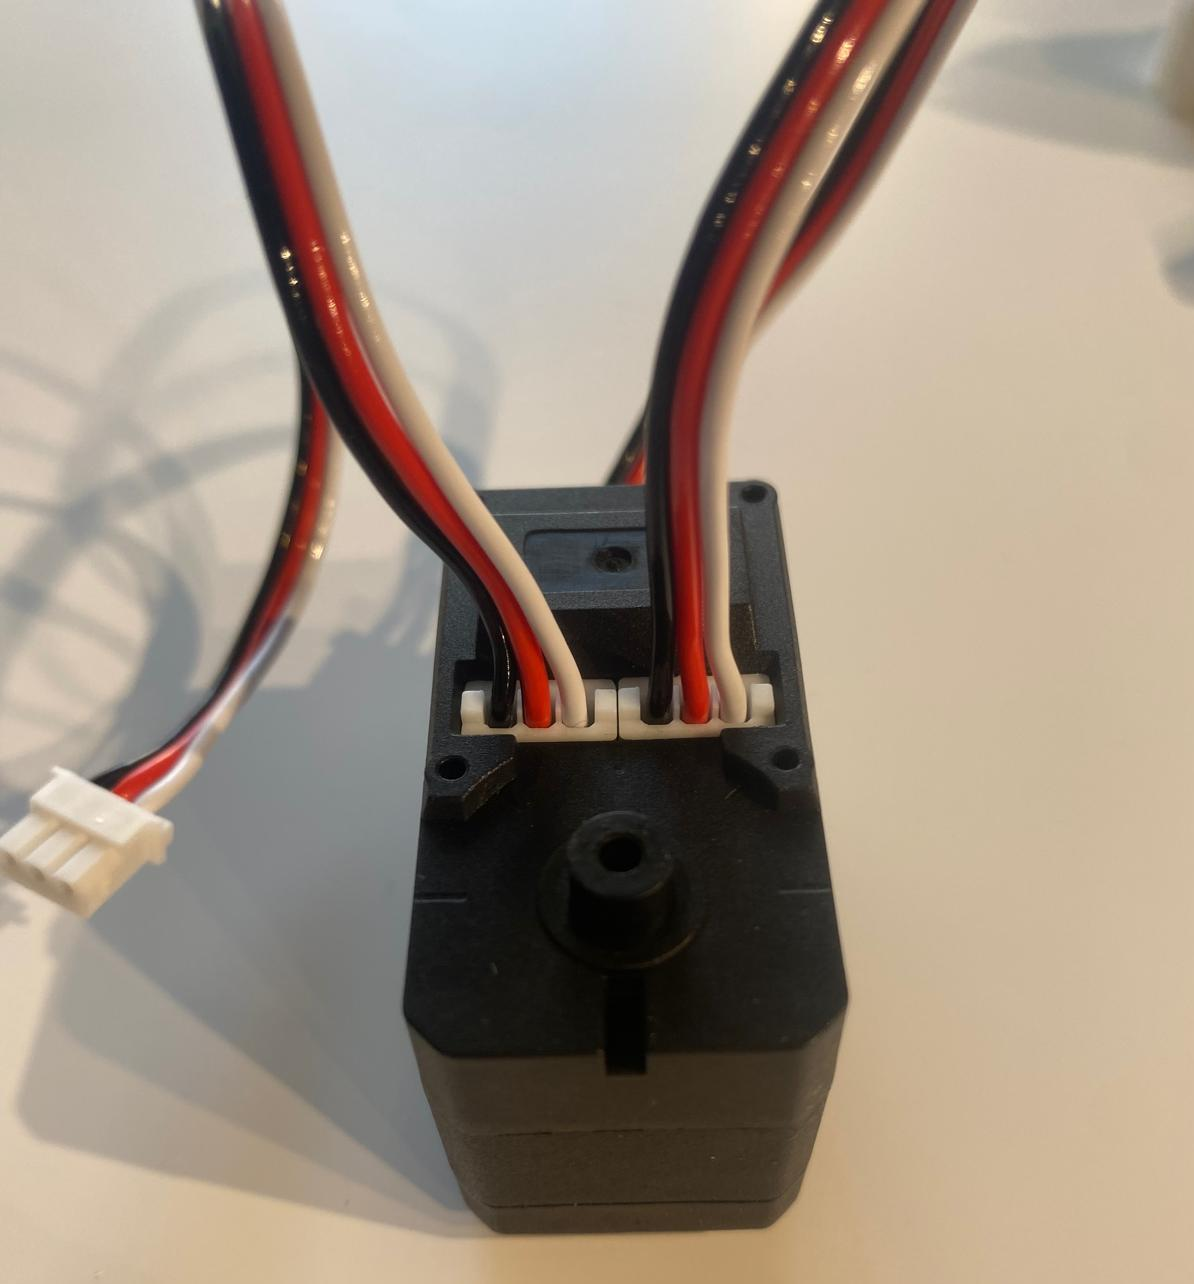
步骤 2:插入线缆
- 将两根线缆插入第一个舵机。
步骤 3:安装到底座
- 将第一个舵机放入底座中。
步骤 4:固定舵机
- 用 4 颗螺丝固定舵机:底部两颗,顶部两颗。
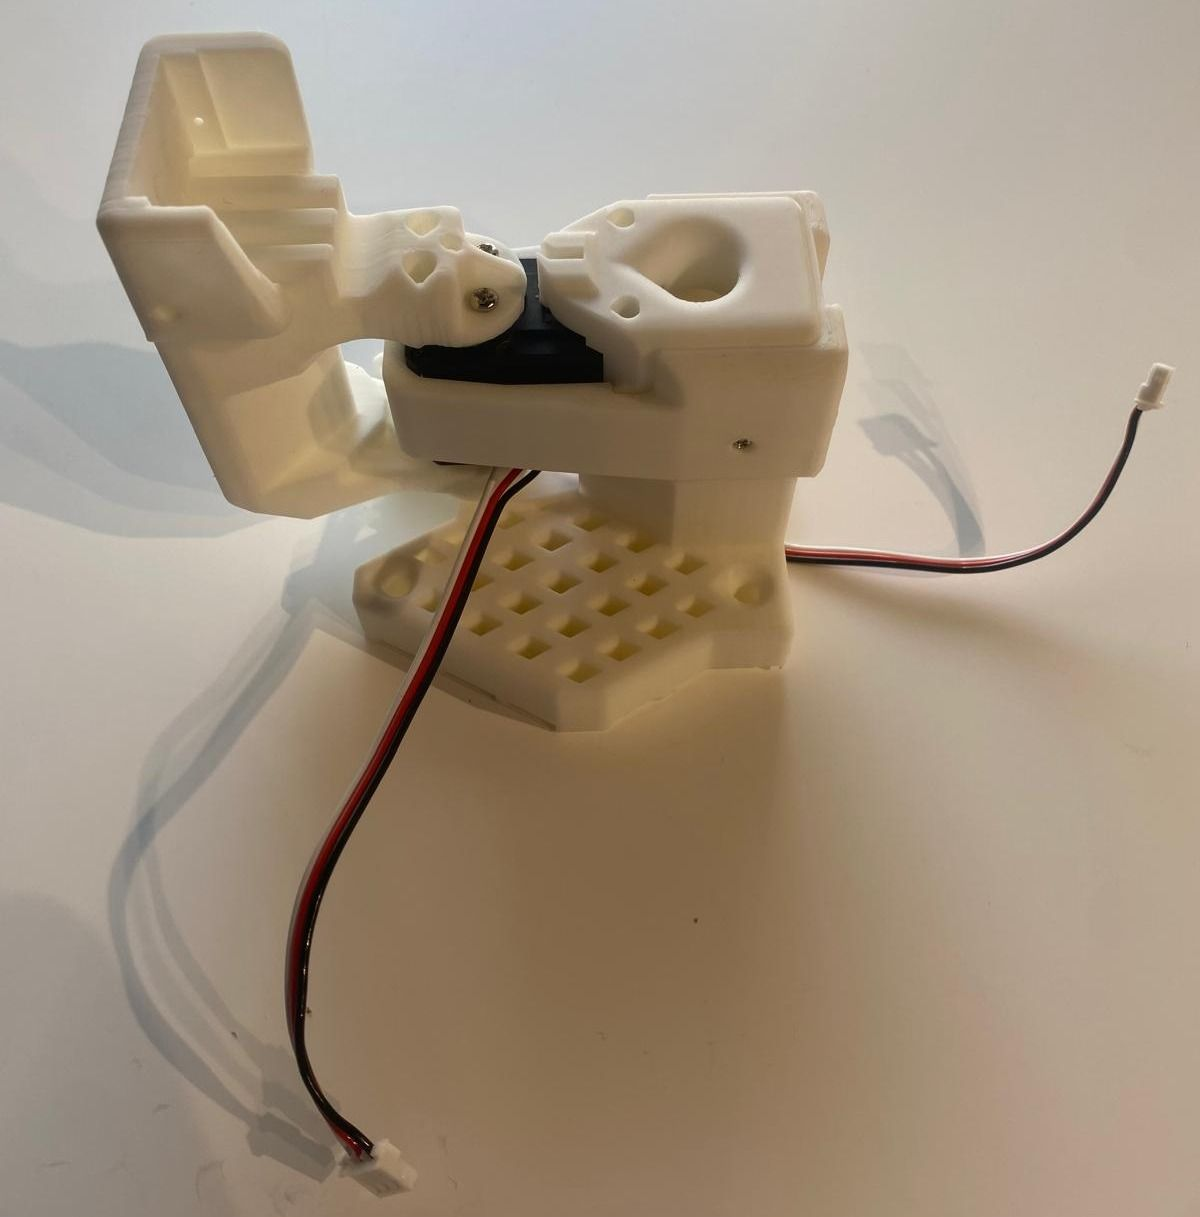
步骤 5:安装舵机支架
- 套上第一个舵机支架,并用两颗螺丝(两侧各一颗)固定。
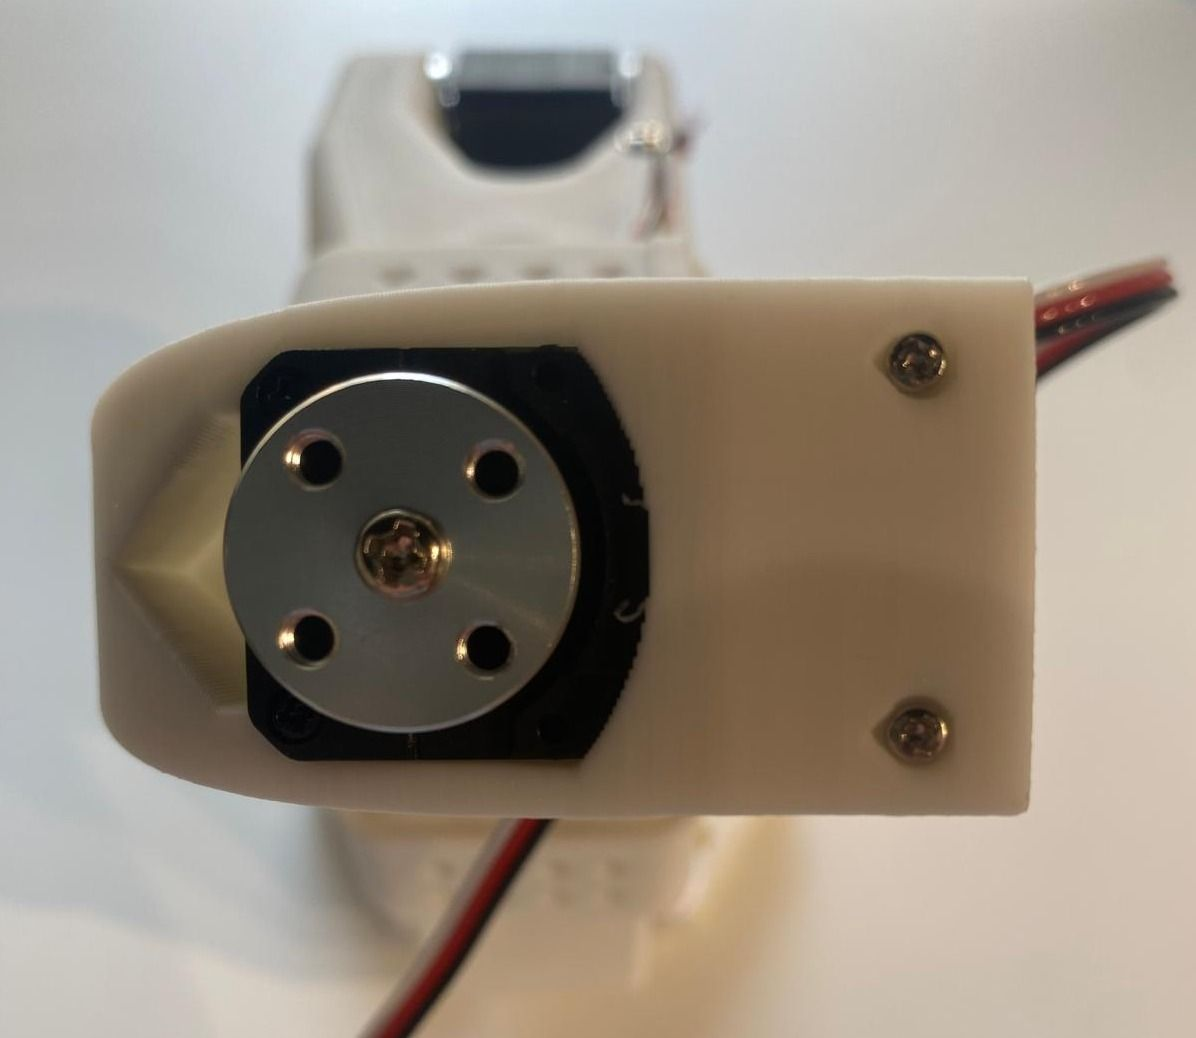
步骤 6:安装舵机舵盘
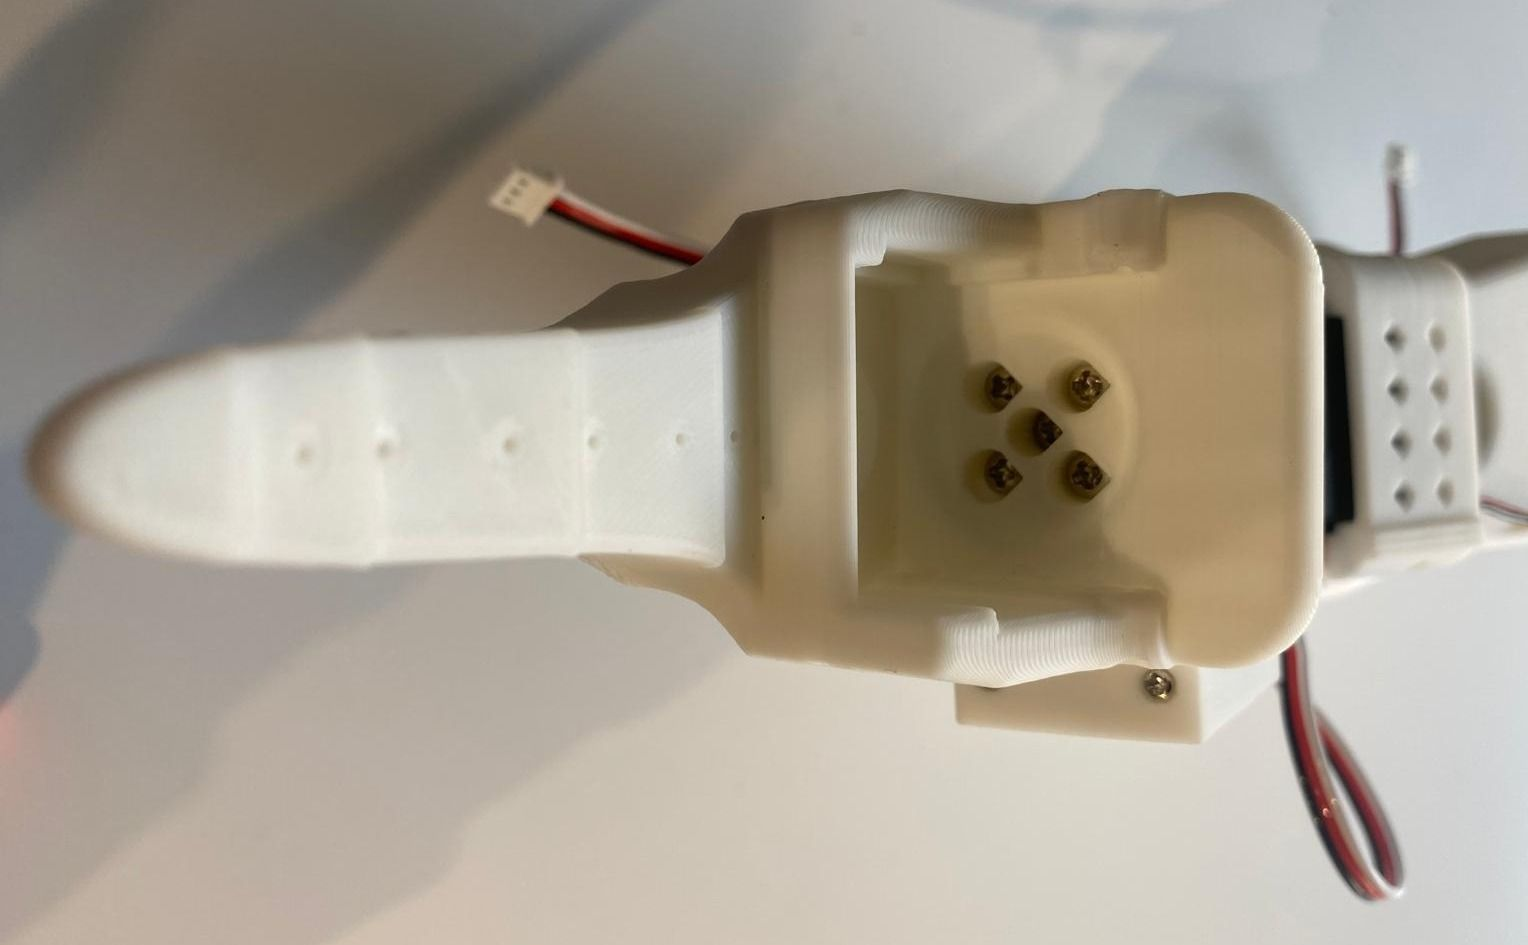
- 安装两个舵机舵盘,用螺丝固定顶部舵盘。 注意:安装舵盘时尽量避免移动舵机位置(尤其是主臂,需提前移除齿轮)。
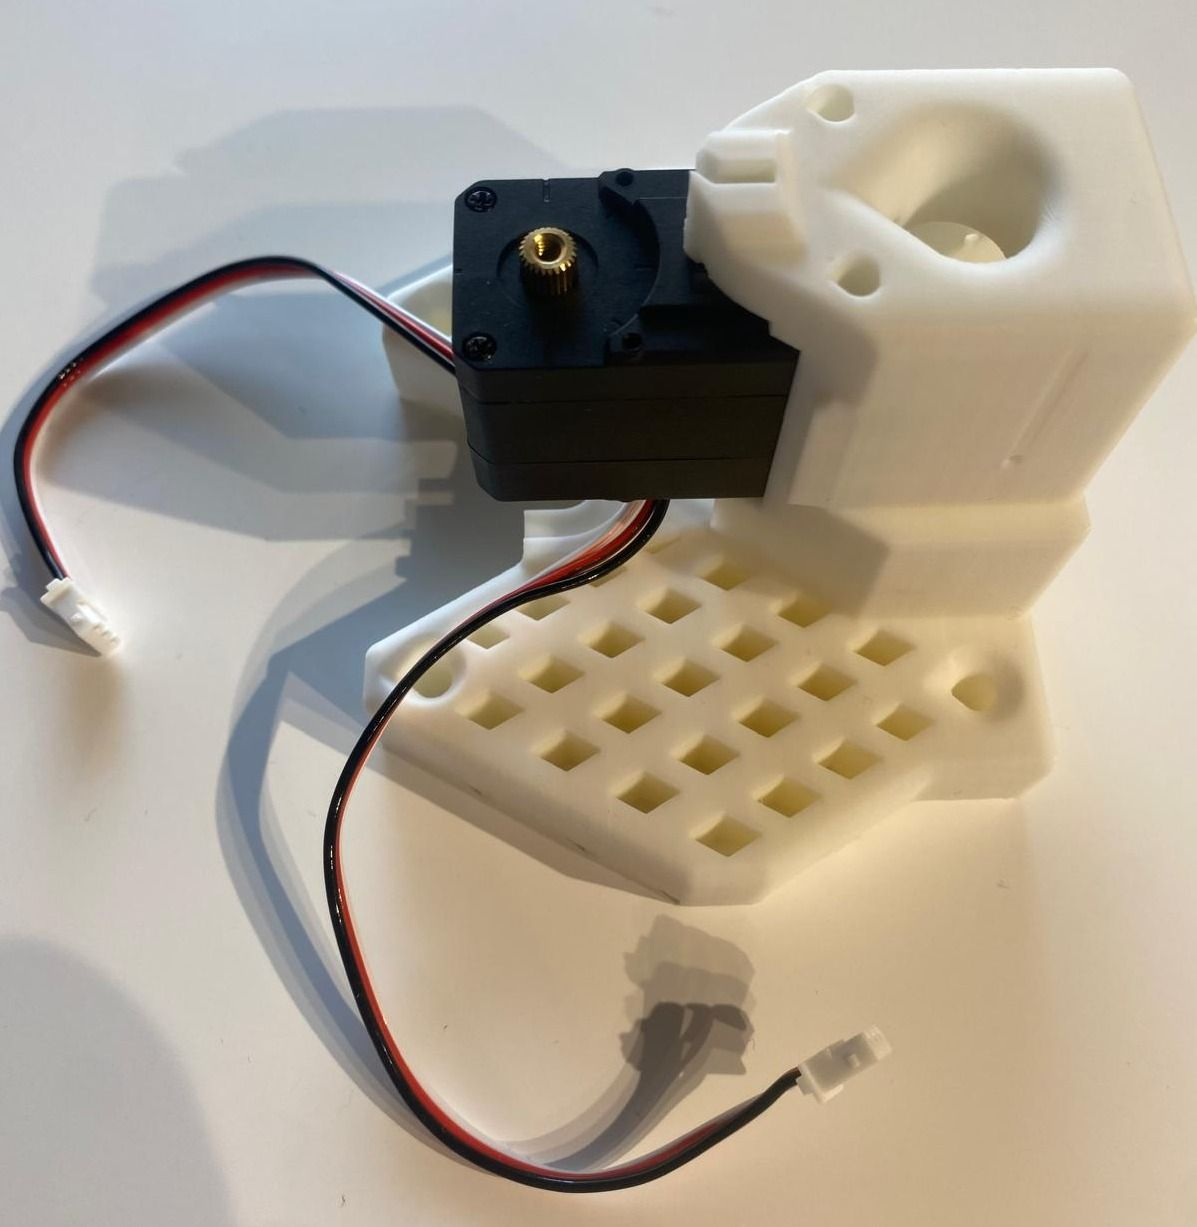
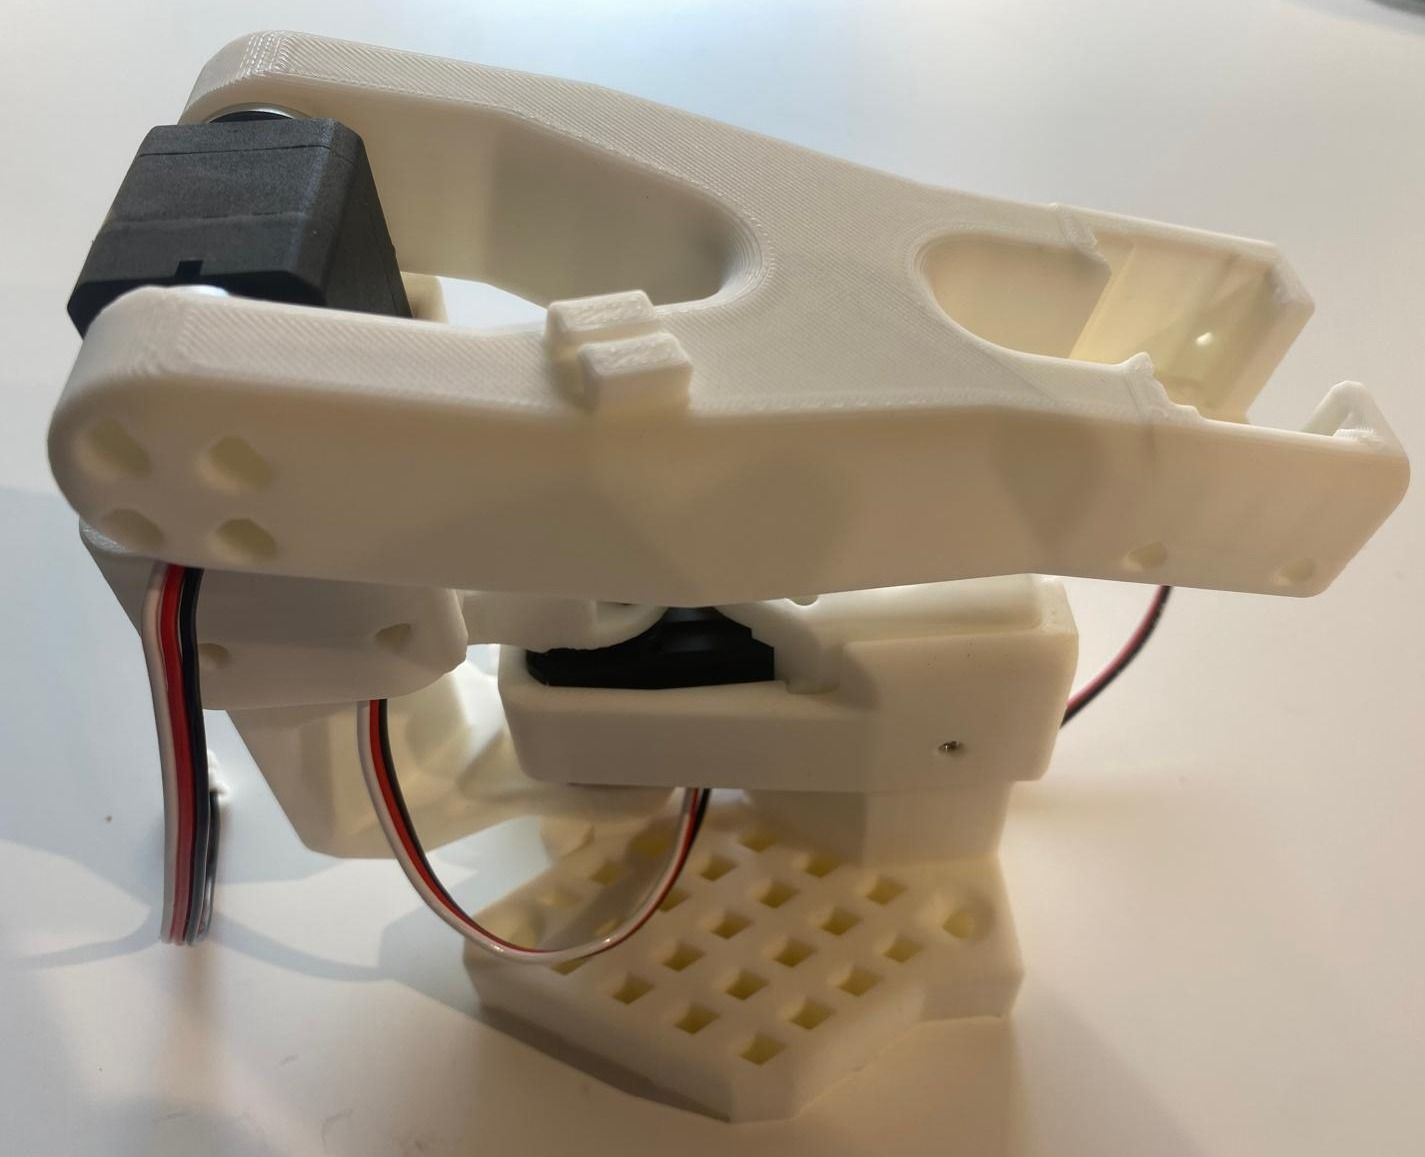
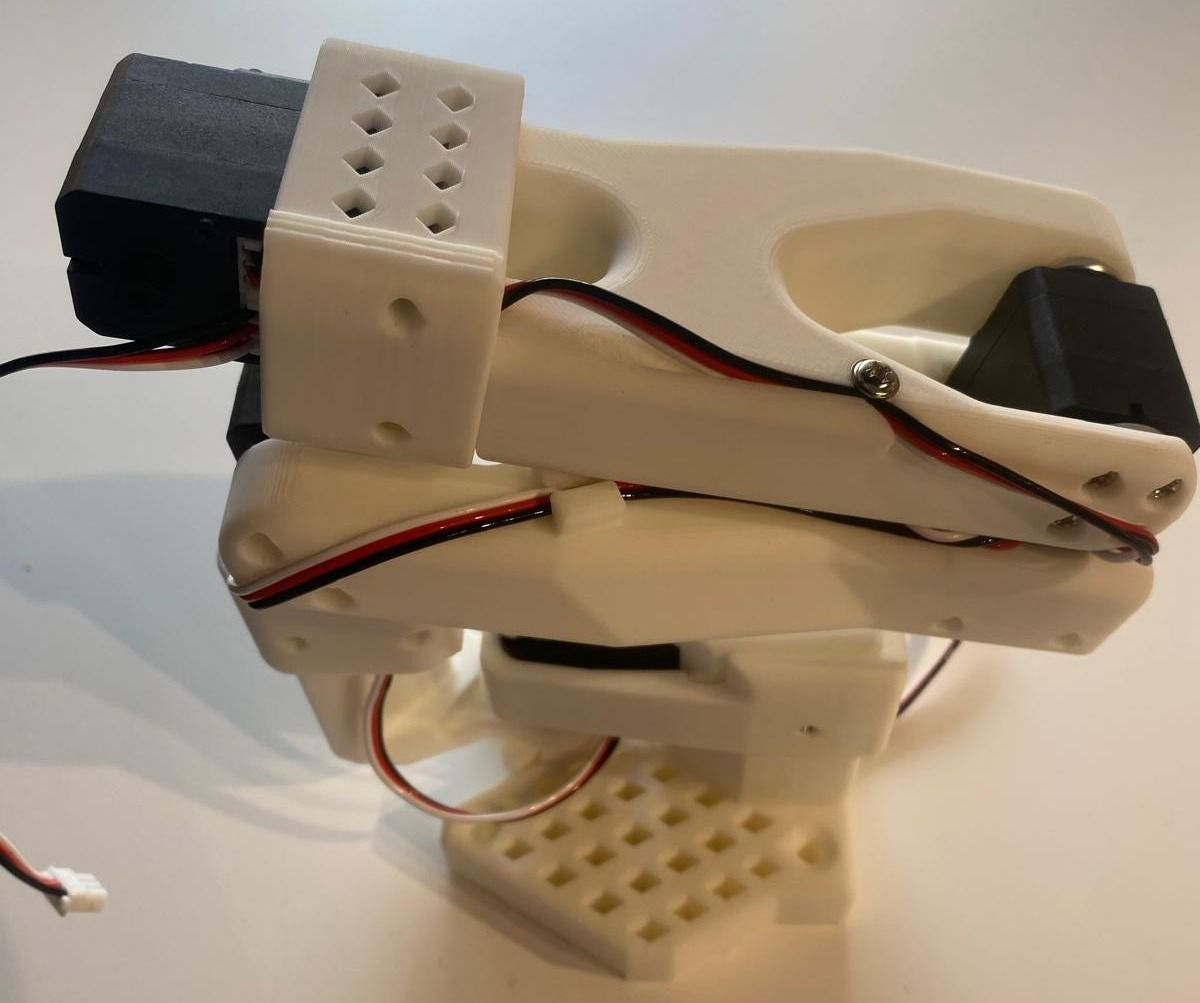
步骤 7:安装肩部组件
- 将一根线缆引至机器人背部,另一根向左或朝向你(参考图片)。
- 安装肩部组件。
步骤 8:固定肩部
- 用 4 颗顶部螺丝和 4 颗底部螺丝固定肩部(需转动肩部以安装底部螺丝)。
1.3 2号舵机组装
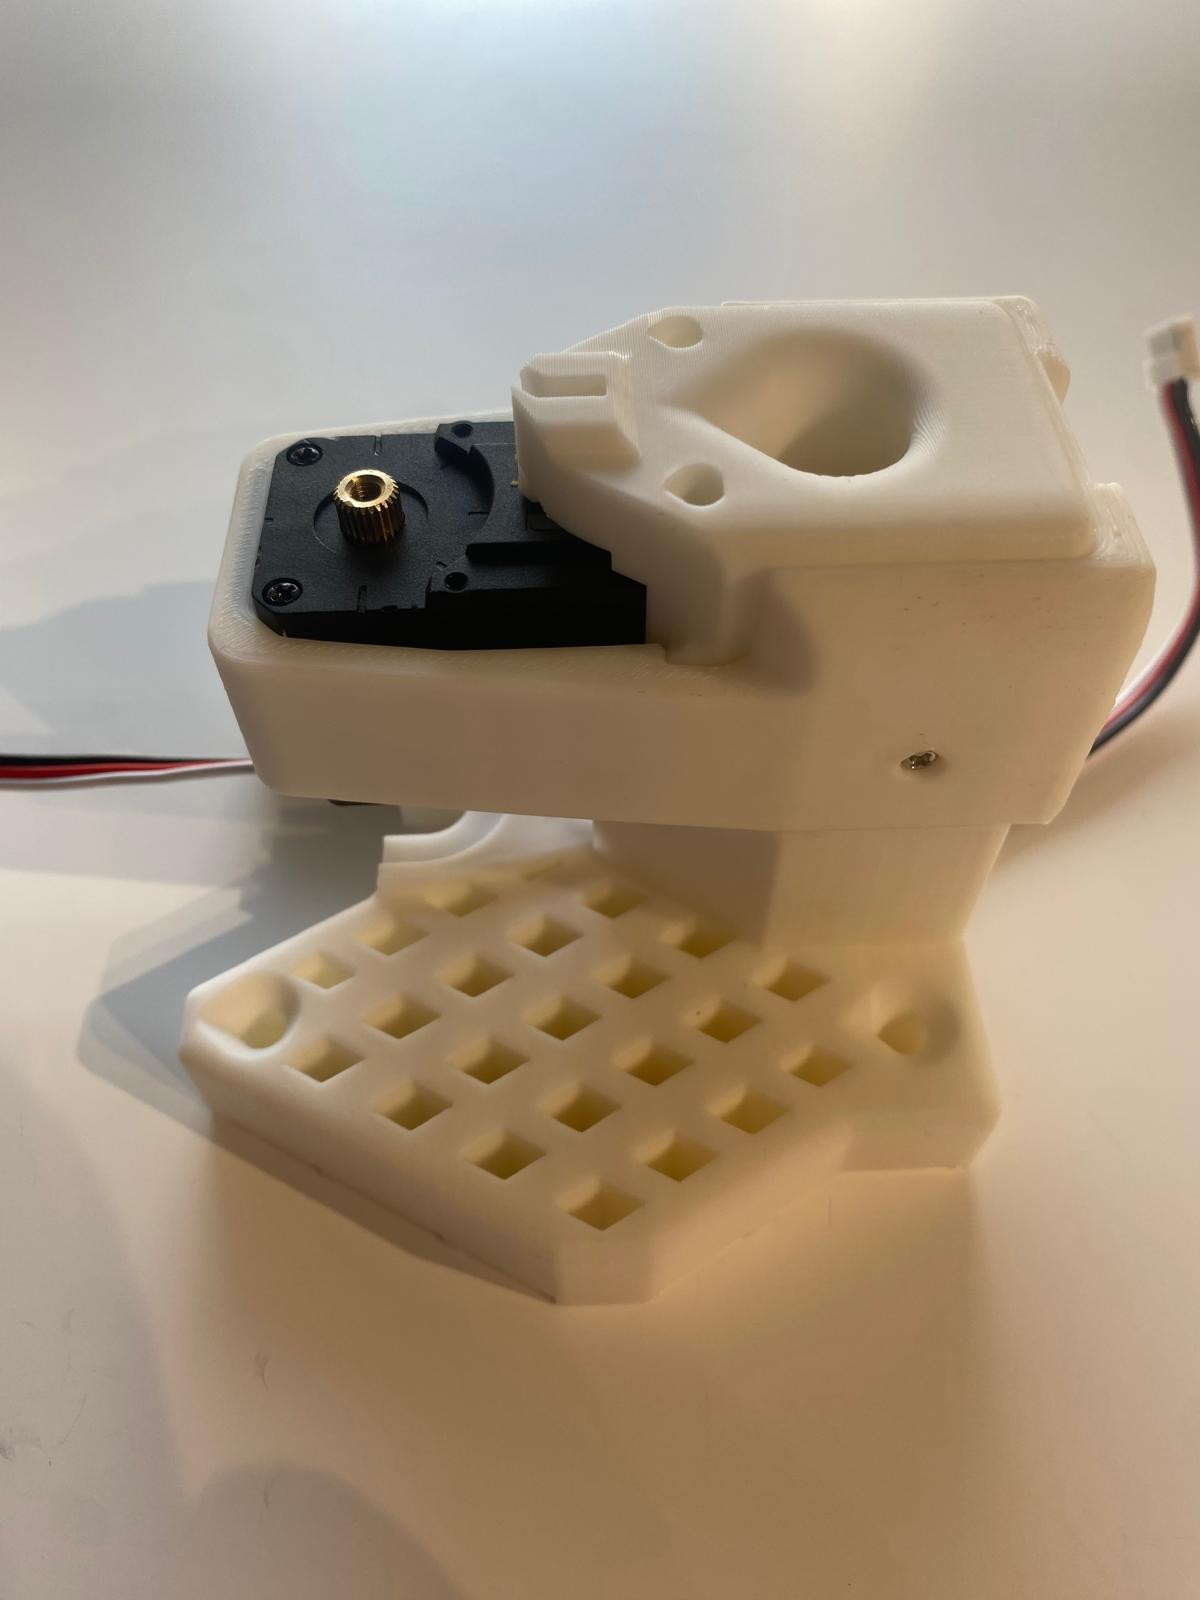
步骤 9:安装舵机 2
- 从顶部插入第二个舵机,并将舵机 1 的线缆连接到舵机 2。
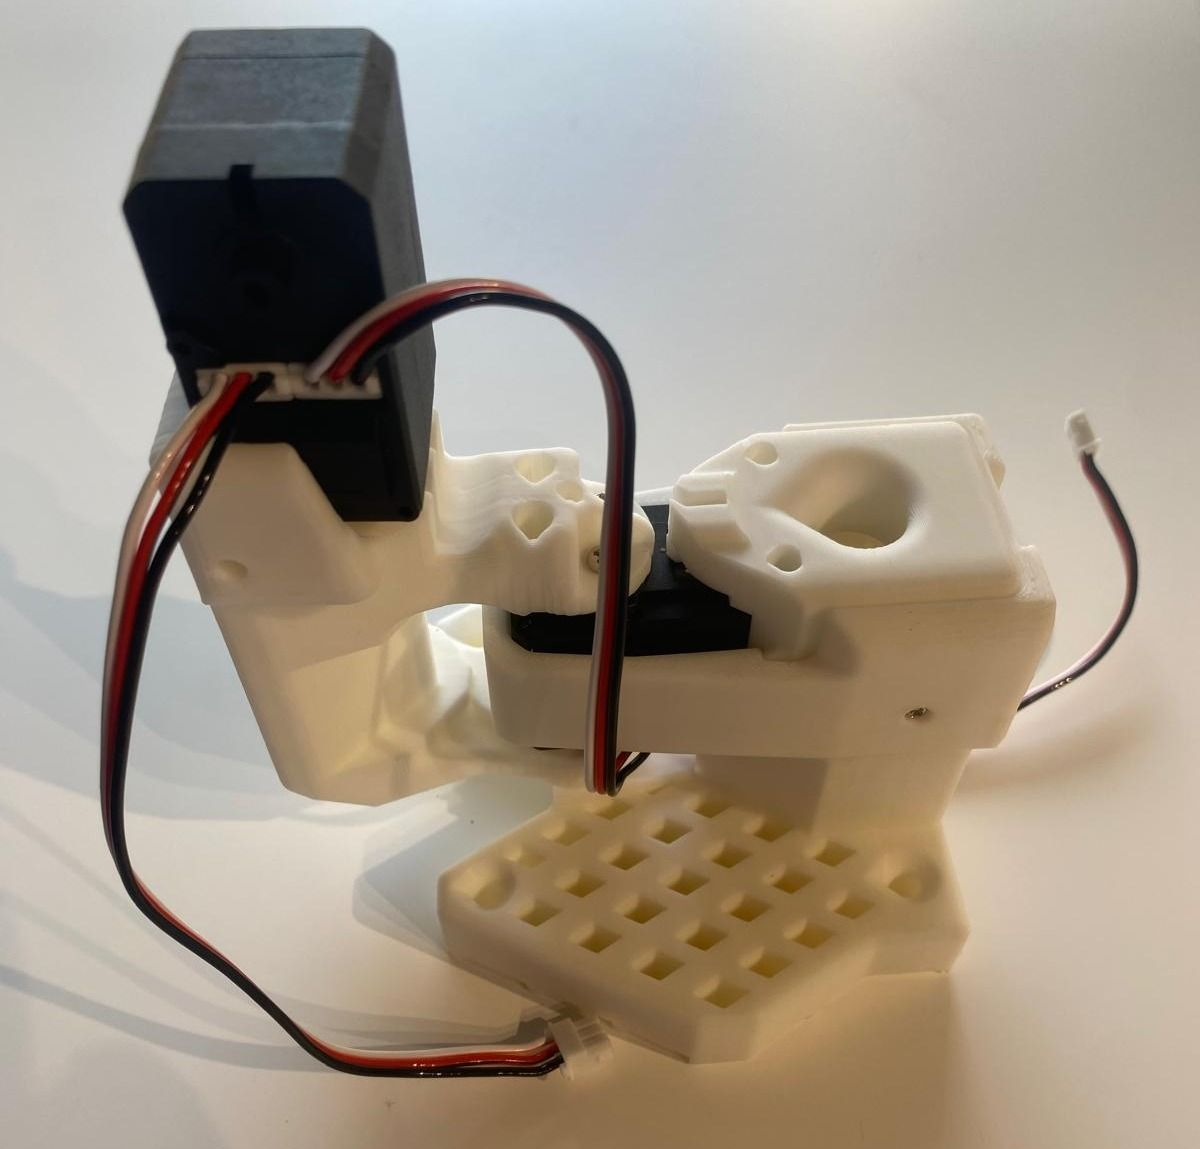
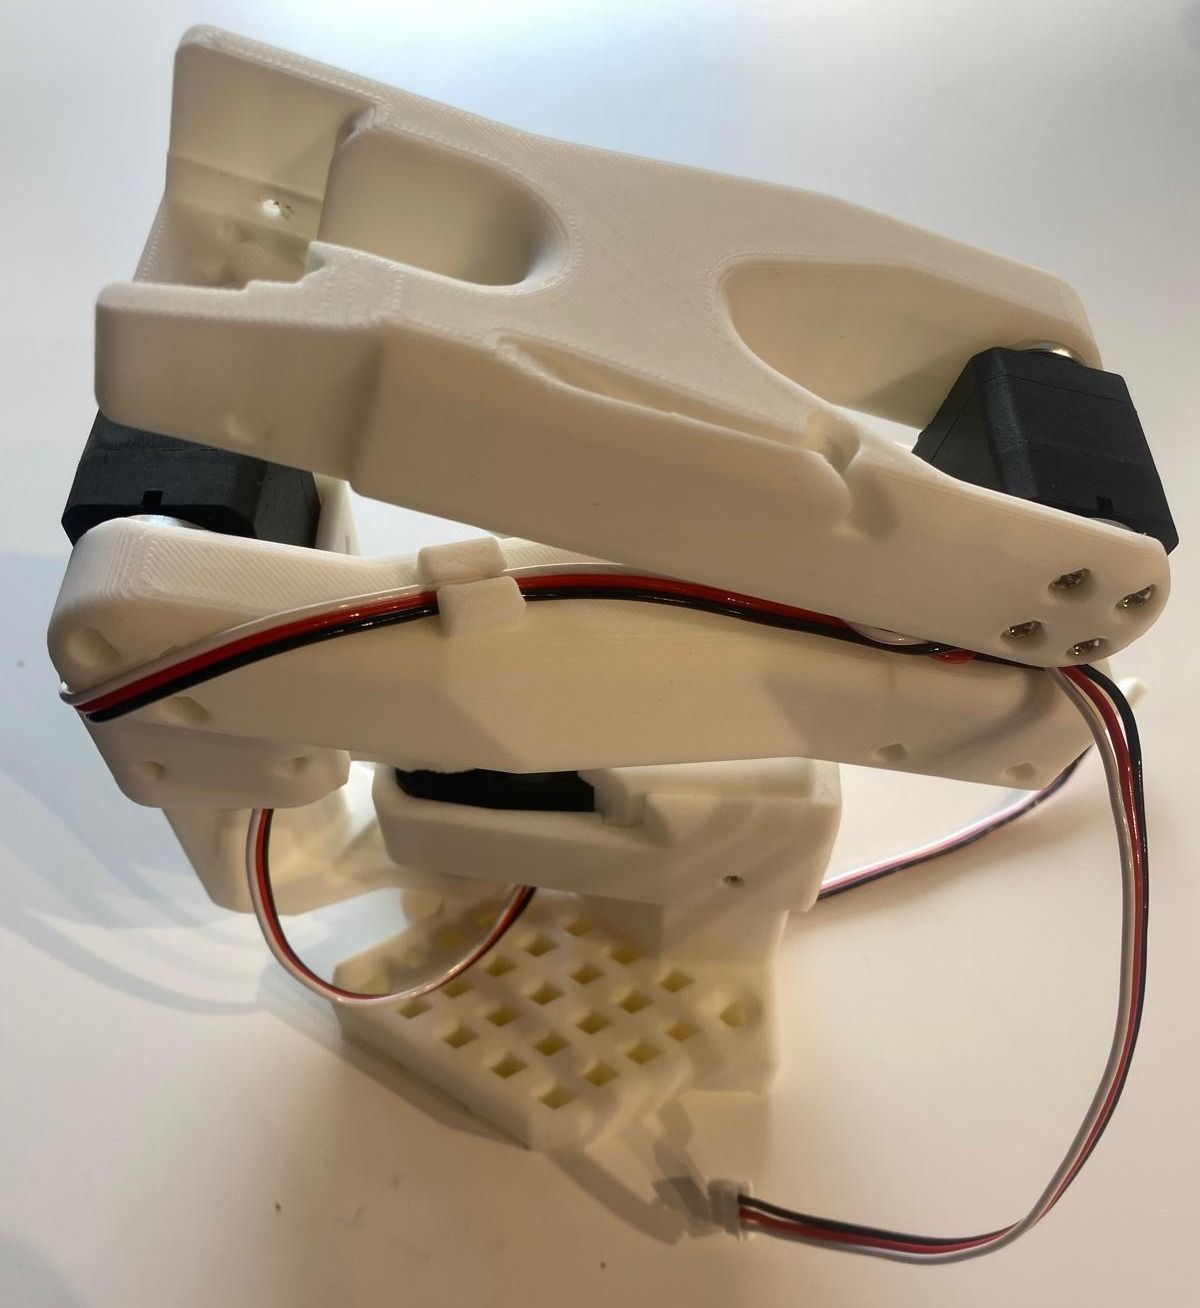
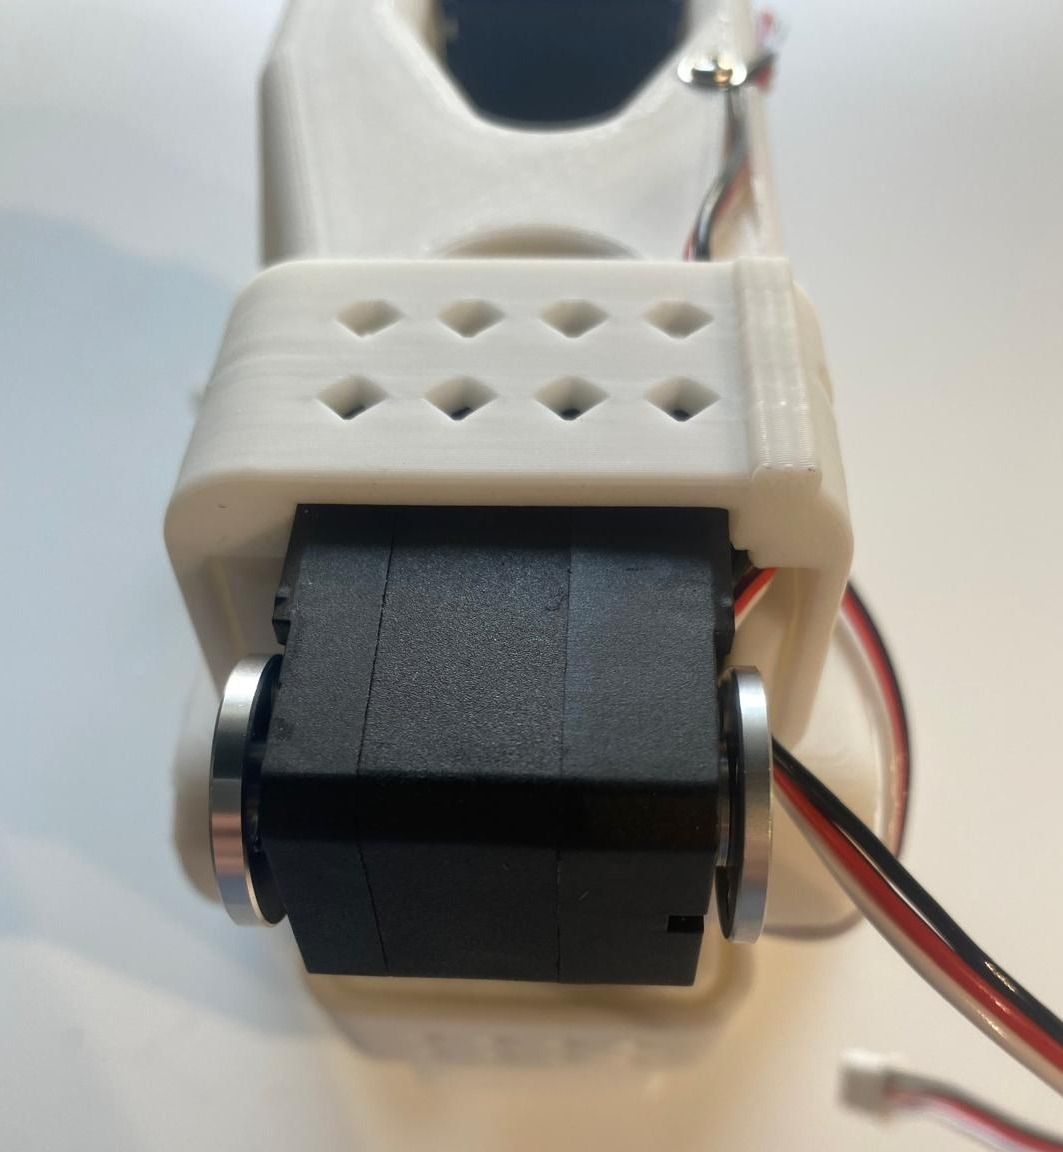
步骤 10:安装肩部支架
- 添加肩部舵机支架。
- 确保舵机 1 到舵机 2 的线缆位于支架后方,另一根线缆向上引出(参考图片)。
步骤 11:固定舵机 2
- 用 4 颗螺丝固定第二个舵机。
步骤 12:安装舵机舵盘
- 为舵机 2 安装两个舵机舵盘,并用舵盘螺丝固定。
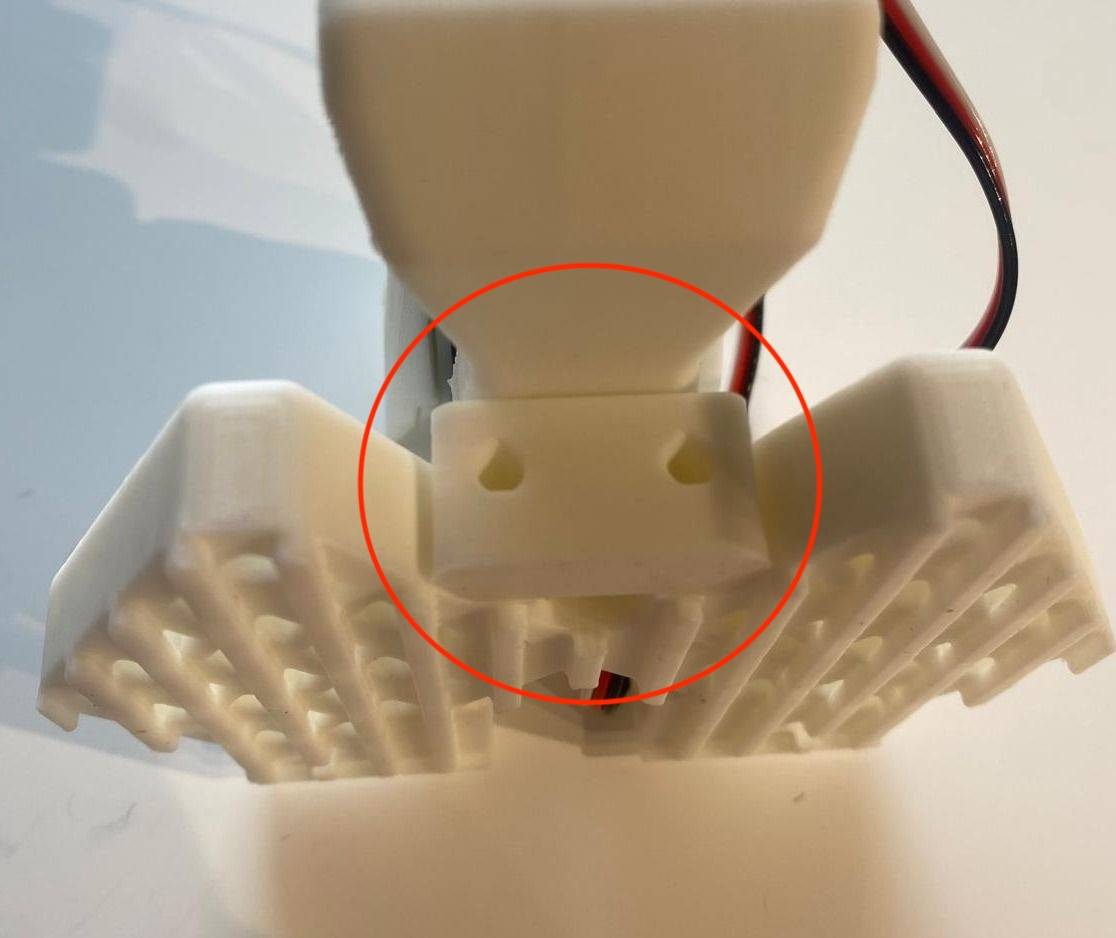
步骤 13:安装底座附件
- 用 2 颗螺丝安装底座附件。
步骤 14:安装上臂
- 用两侧各 4 颗螺丝固定上臂。
1.4 3号舵机组装
步骤 15:安装舵机 3
- 将舵机 2 的线缆穿过线缆支架引至舵机 3,然后用 4 颗螺丝固定舵机 3。
步骤 16:安装舵机舵盘
- 为舵机 3 安装两个舵机舵盘,并用舵盘螺丝固定其中一个。

步骤 17:安装前臂
- 用两侧各 4 颗螺丝将前臂连接到舵机 3。
1.5 4号舵机组装
步骤 18:安装舵机 4
- 插入舵机 4,连接舵机 3 的线缆,并用螺丝将线缆固定在线缆支架上。
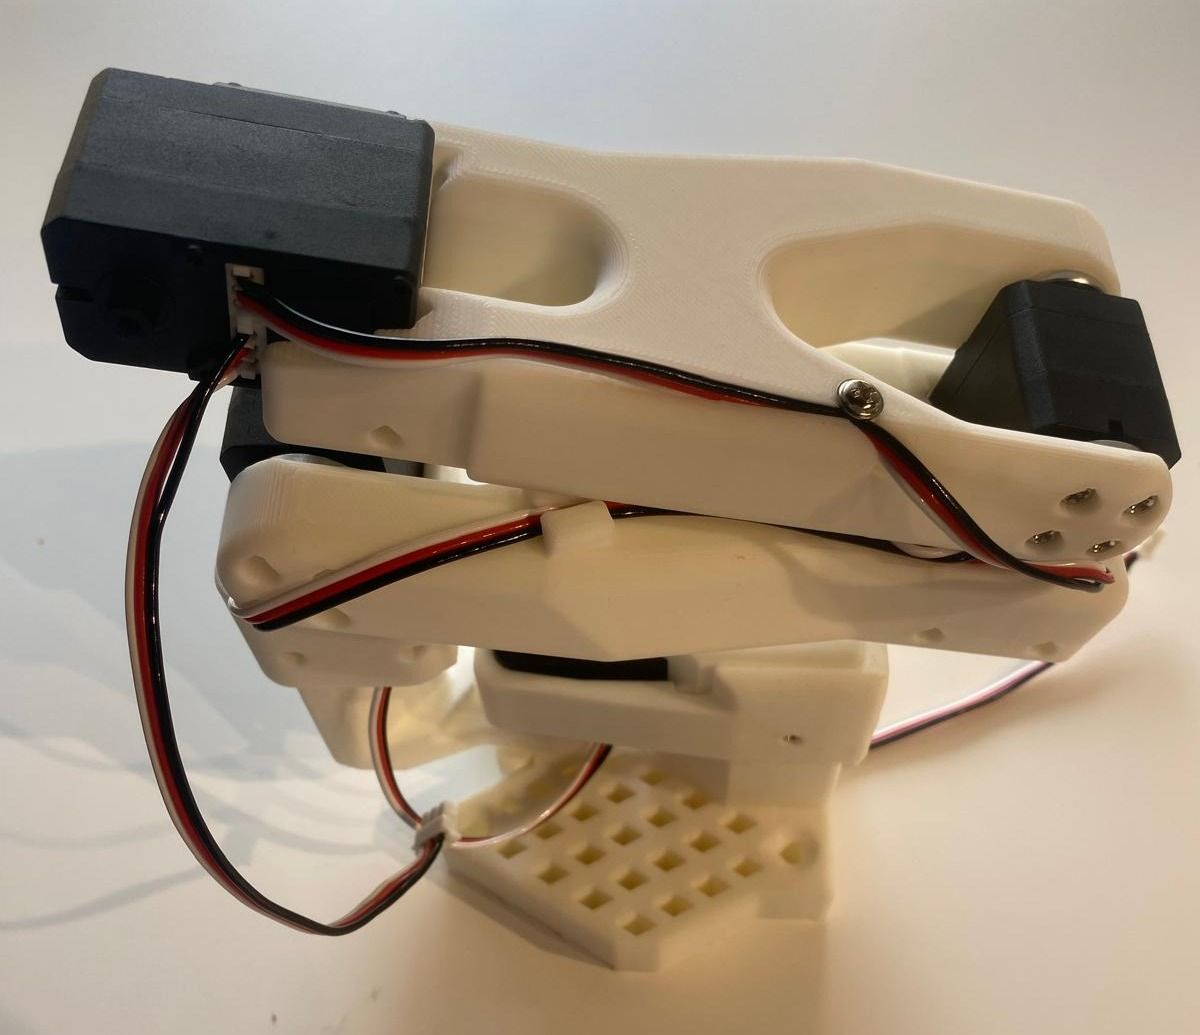
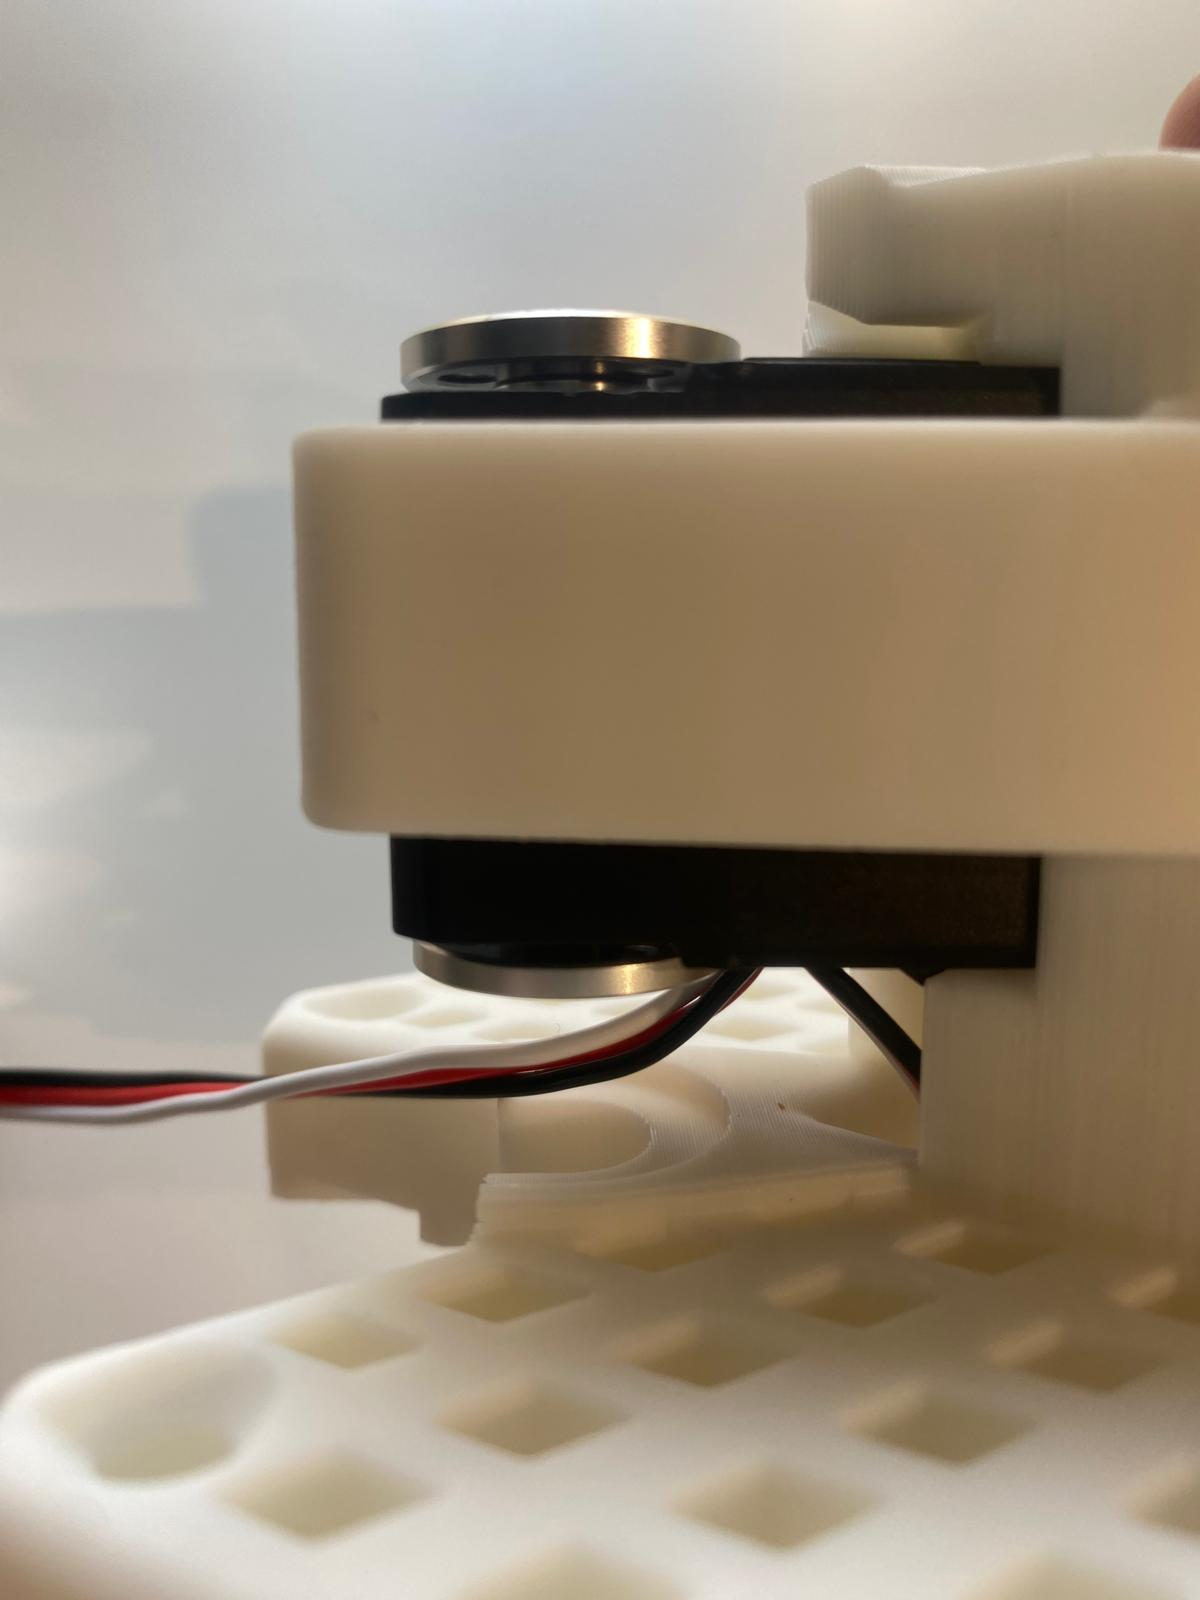
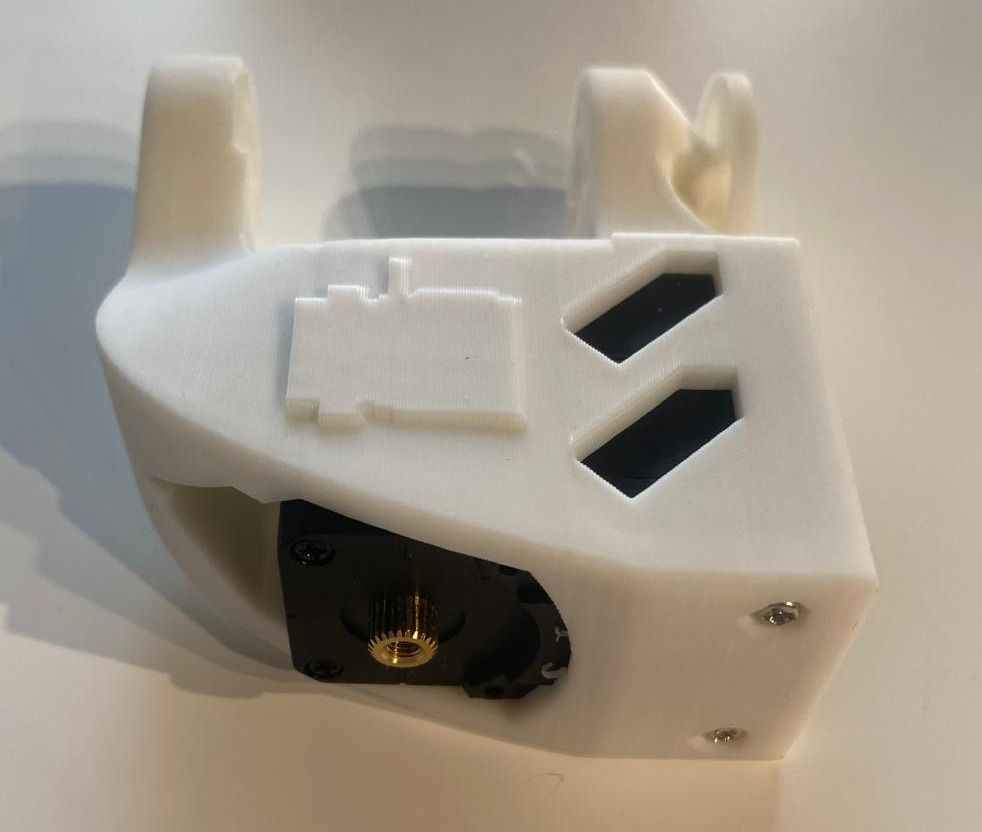
步骤 19:安装舵机支架 4
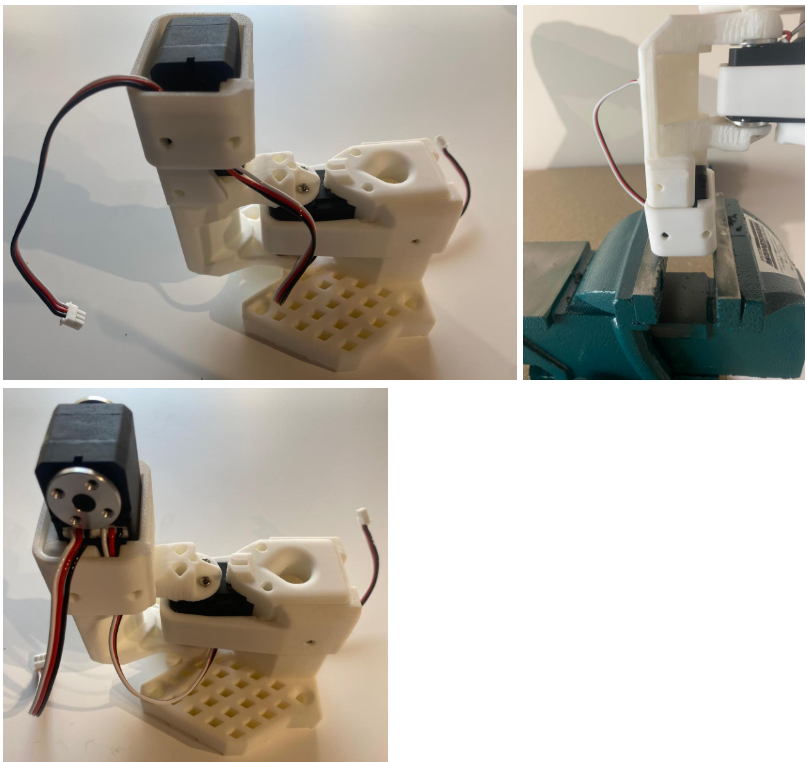
- 安装第四个舵机支架(较紧)。确保一根线缆向上引出,另一根(来自舵机 3)向下引出(参考图片)。
步骤 20:固定舵机 4 并安装舵盘
- 用 4 颗螺丝固定舵机 4,安装两个舵机舵盘,并用舵盘螺丝固定其中一个。
1.6 腕部组装
步骤 21:安装舵机 5
- 将舵机 5 插入腕部支架,并用 2 颗前部螺丝固定。
步骤 22:安装腕部
- 将舵机 4 的线缆连接到舵机 5,并预装夹爪线缆。
- 用两侧各 4 颗螺丝将腕部固定到舵机 4。
步骤 23:安装腕部舵盘
- 仅在腕部舵机上安装一个舵机舵盘,并用舵盘螺丝固定。
1.7 从臂配置
步骤 24:安装夹爪
- 将夹爪安装到舵机 5。
步骤 25:安装夹爪舵机
- 插入夹爪舵机,将舵机 5 的线缆连接到舵机 6,并用两侧各 3 颗螺丝固定。
步骤 26:安装夹爪舵盘和爪体
- 安装舵机舵盘并用舵盘螺丝固定。
- 安装夹爪爪体,用两侧各 4 颗螺丝固定。
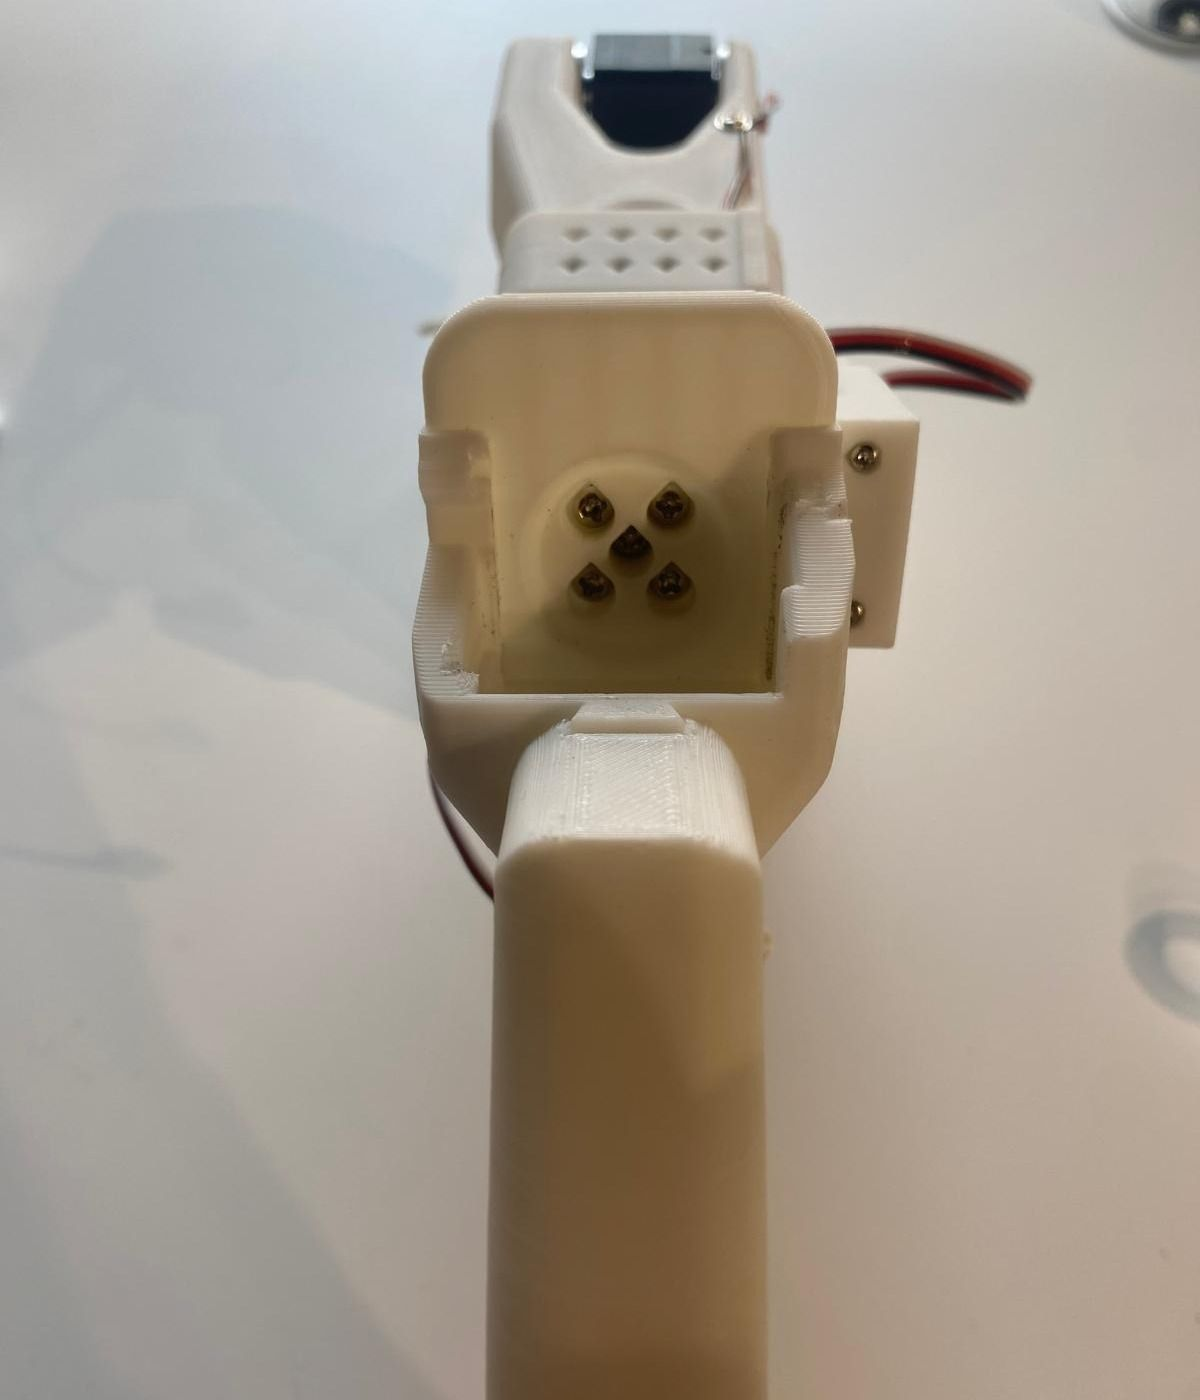
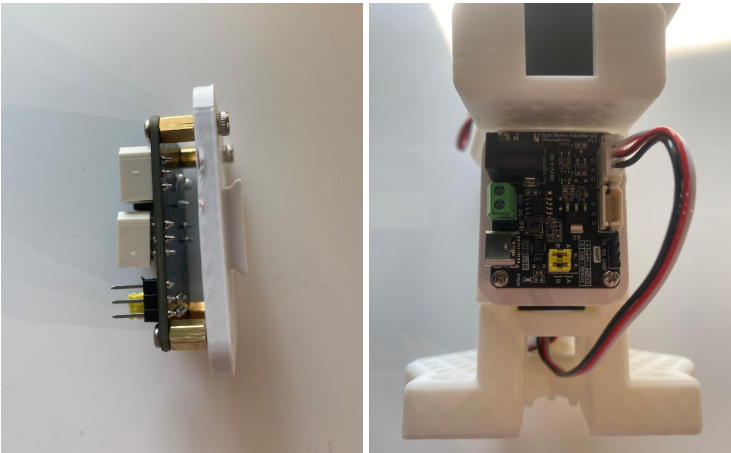
步骤 27:安装控制器
- 将舵机控制器安装在背部。

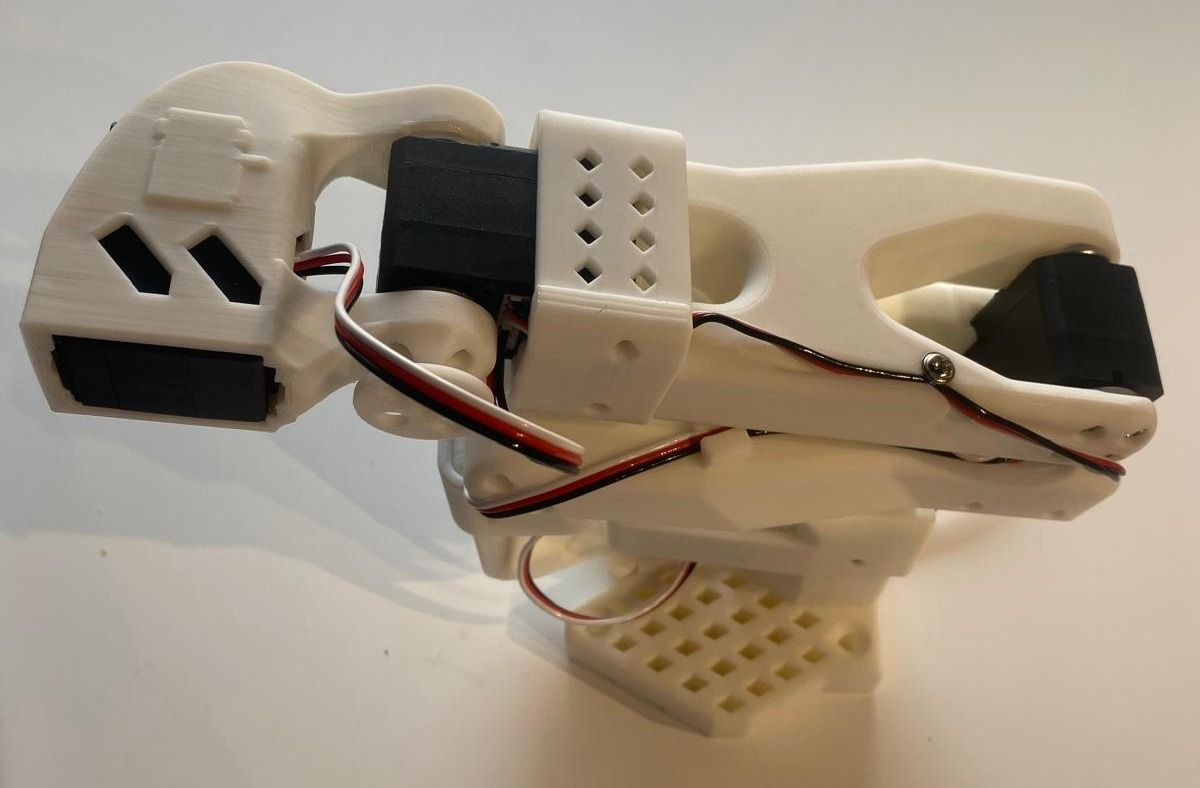
组装完成,开始主臂组装。
1.8 引导臂配置
执行步骤 1–23(需提前移除舵机齿轮)。
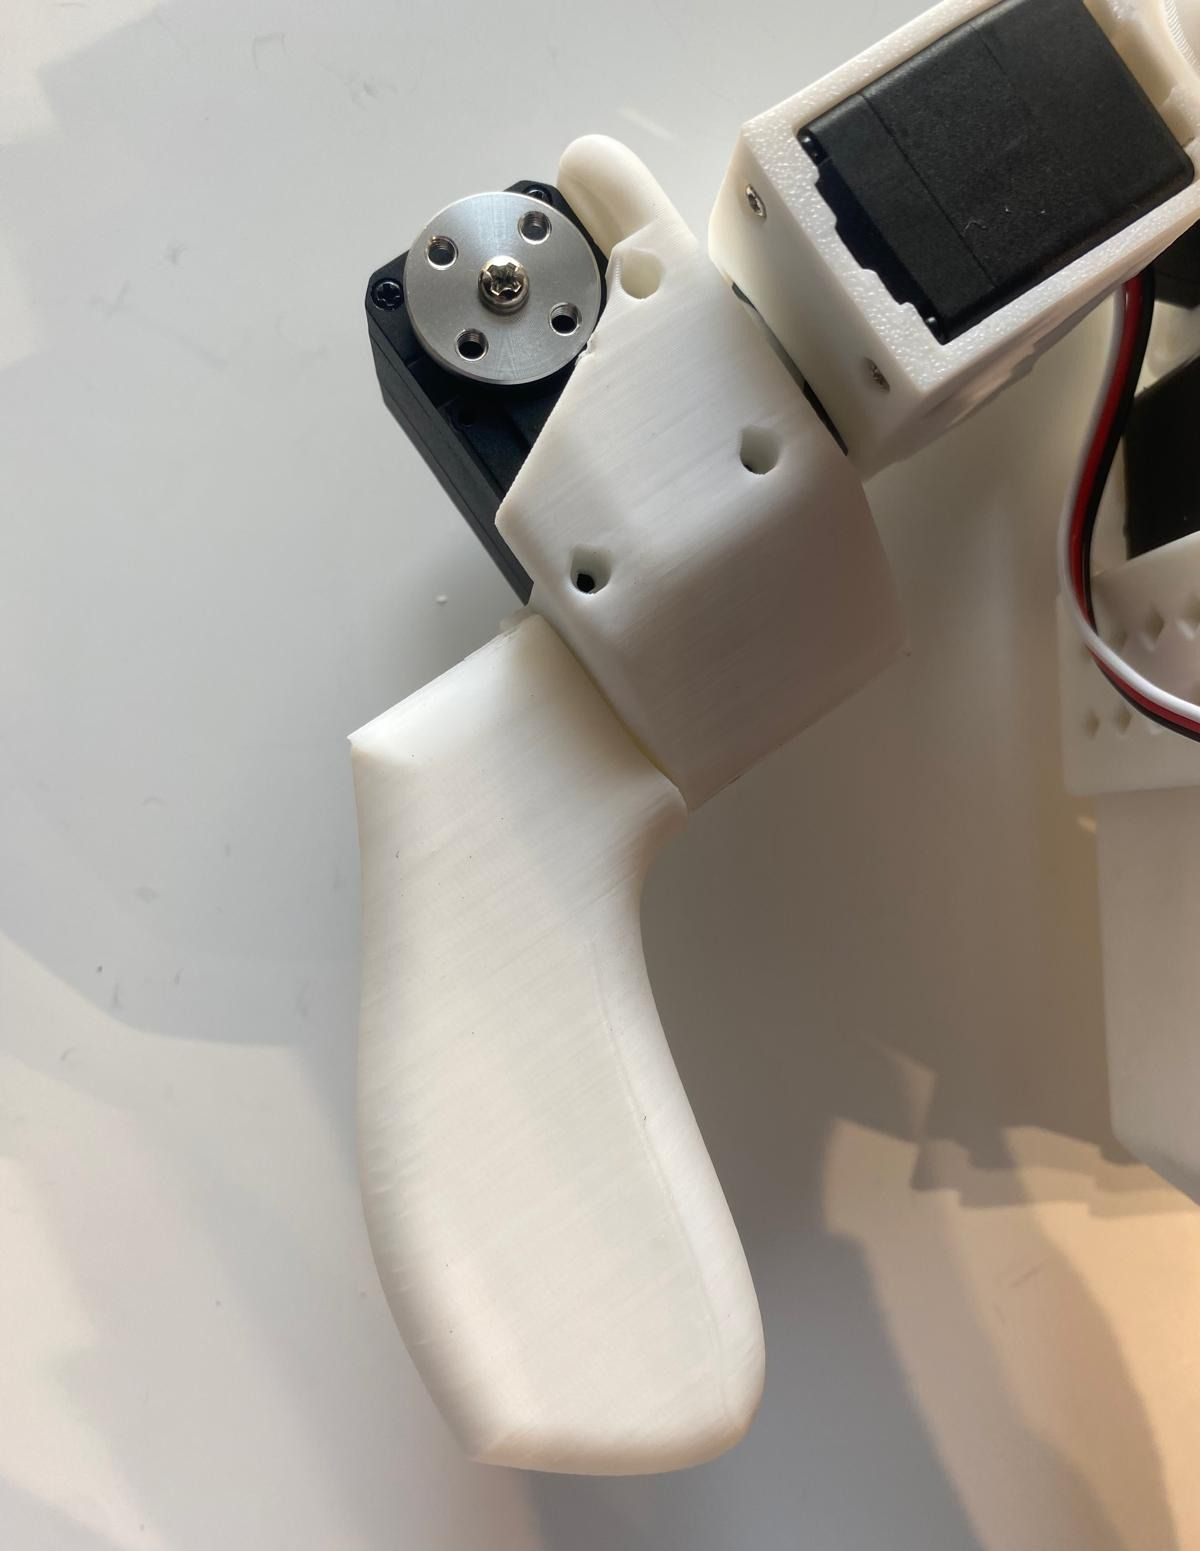
步骤 24:安装主臂支架
- 将主臂支架安装到腕部,并用螺丝固定。
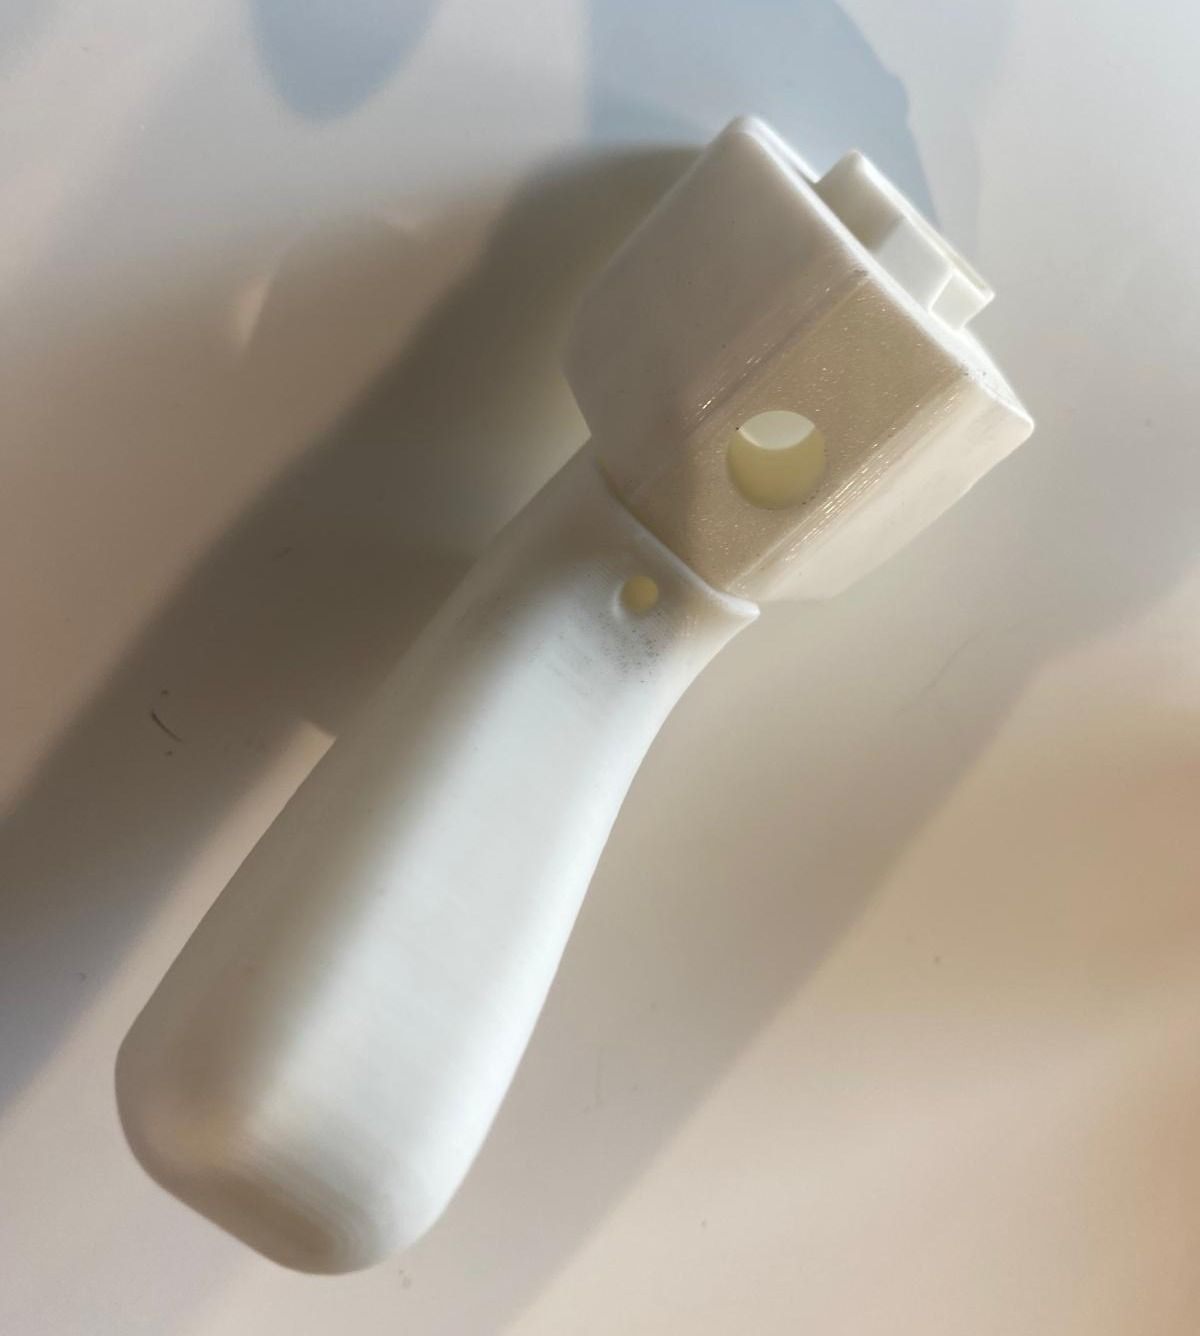
步骤 25:安装手柄
- 用 4 颗螺丝将手柄安装到舵机 5。
步骤 26:安装夹爪舵机
- 插入夹爪舵机,用两侧各 3 颗螺丝固定,安装舵机舵盘并连接线缆。
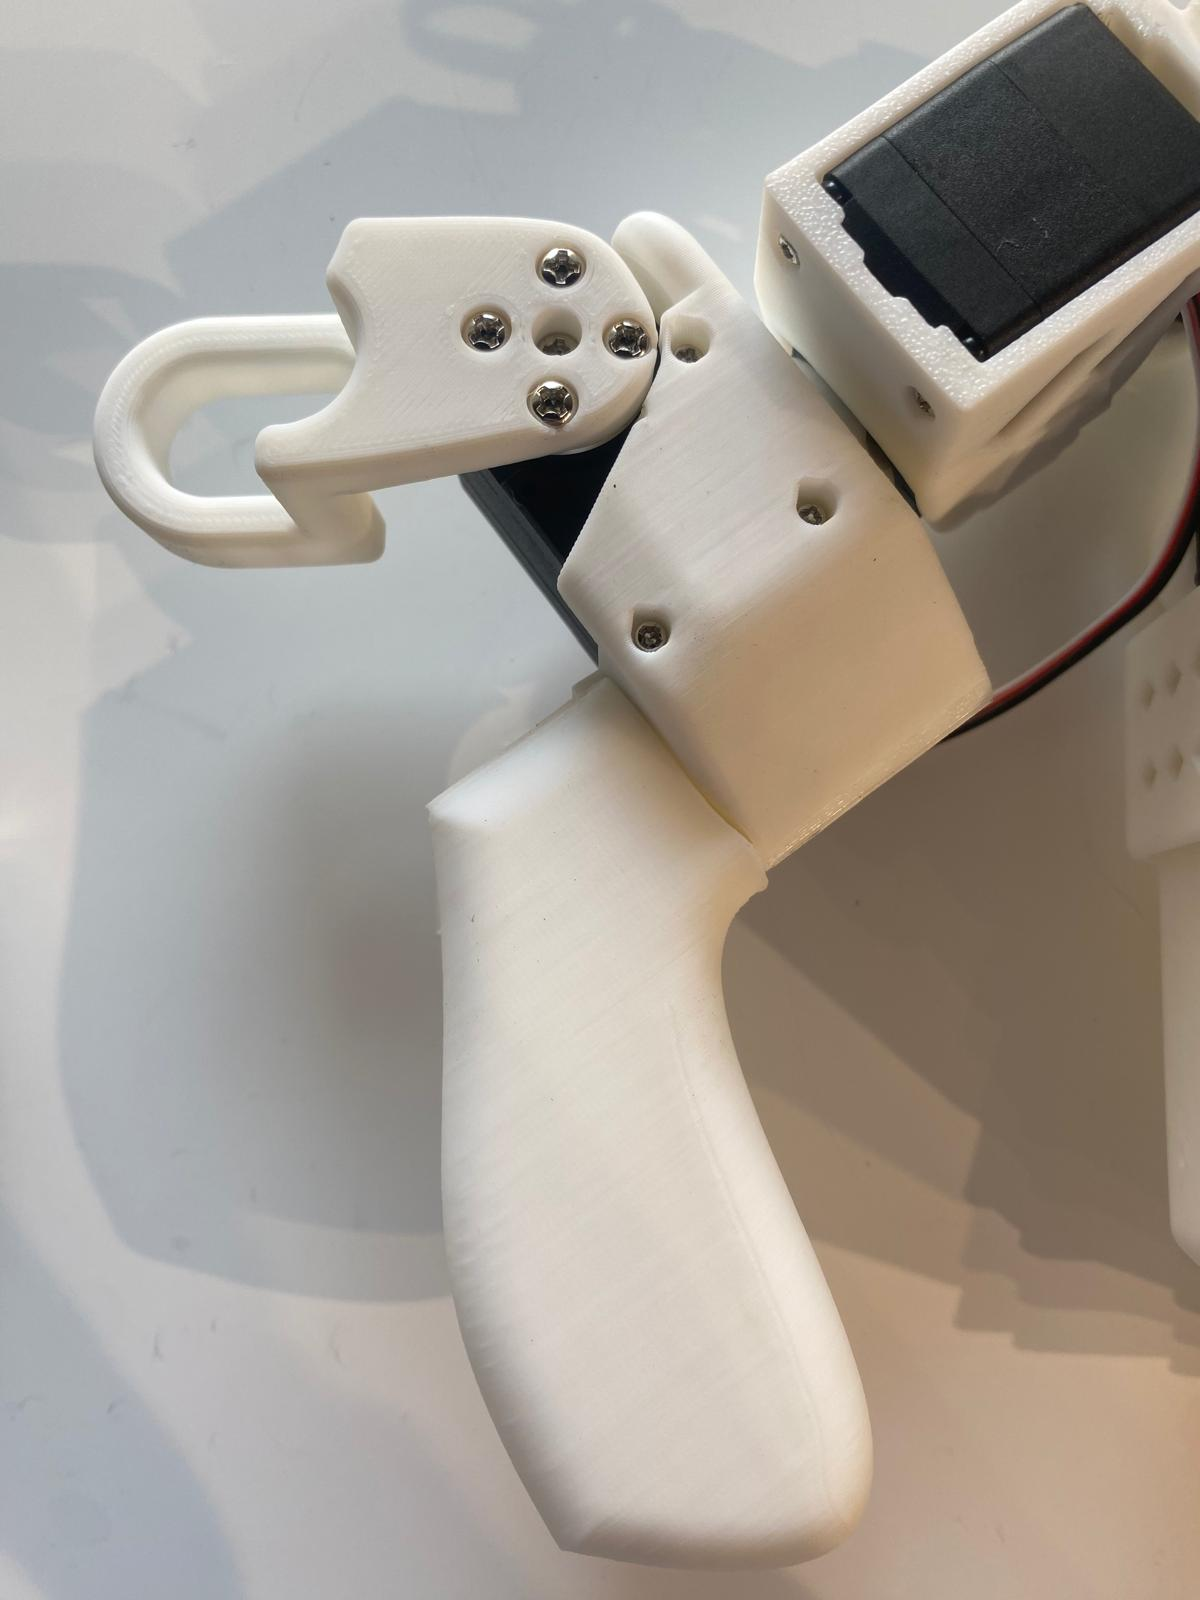
步骤 27:安装触发器
- 用 4 颗螺丝安装从臂触发器。
步骤 28:安装控制器
- 将舵机控制器安装在背部。
组装完成,开始校准。
E. 校准 校准 SO-100 机器人,确保主臂和从臂在相同物理位置时数值一致(此步骤对神经网络迁移训练至关重要)。
a. 从臂手动校准 重要:与组装视频步骤 6(自动校准)不同,此处需手动校准。
- 将从臂依次移动到以下位置: 暂时无法在飞书文档外展示此内容
- 确保双臂已连接,运行脚本启动校准:
暂时无法在飞书文档外展示此内容
b. 主臂手动校准
- 按组装视频步骤 6 操作,将主臂依次移动到以下位置: 暂时无法在飞书文档外展示此内容
- 运行脚本启动校准:
暂时无法在飞书文档外展示此内容
F. 远程控制
基础远程控制 校准完成后,运行以下脚本启动远程控制(不连接摄像头):
暂时无法在飞书文档外展示此内容
a. 带摄像头的远程控制
- 按指南配置摄像头。
- 运行以下代码,在远程控制时显示摄像头画面(适用于数据集录制前的调试):
暂时无法在飞书文档外展示此内容
For the leader configuration, perform Steps 1–23. Make sure that you removed the motor gears from the motors.
Step 24: Attach Leader Holder
- Mount the leader holder onto the wrist and secure it with a screw.
Step 25: Attach Handle
- Attach the handle to motor 5 using 4 screws.
Step 26: Install Gripper Motor
- Insert the gripper motor, secure it with 3 screws on each side, attach a motor horn using a horn screw, and connect the motor wire.

Step 27: Attach Trigger
- Attach the follower trigger with 4 screws.
Step 28: Mount Controller
- Attach the motor controller on the back.

Assembly complete – proceed to calibration.
2. Calibrate
Next, you'll need to calibrate your SO-100 robot to ensure that the leader and follower arms have the same position values when they are in the same physical position. This calibration is essential because it allows a neural network trained on one SO-100 robot to work on another.
2.1 Manual calibration of follower arm
Important
Contrarily to step 6 of the assembly video which illustrates the auto calibration, we will actually do manual calibration of follower for now.
You will need to move the follower arm to these positions sequentially:
表格 还在加载中,请等待加载完成后再尝试复制
Make sure both arms are connected and run this script to launch manual calibration:

python lerobot/scripts/control_robot.py \
--robot.type=so100 \
--robot.cameras='{}' \
--control.type=calibrate \
--control.arms='["main_follower"]'
2.2 Manual calibration of leader arm
Follow step 6 of the assembly video which illustrates the manual calibration. You will need to move the leader arm to these positions sequentially:
表格 还在加载中,请等待加载完成后再尝试复制
Run this script to launch manual calibration:
python lerobot/scripts/control_robot.py \
--robot.type=so100 \
--robot.cameras='{}' \
--control.type=calibrate \
--control.arms='["main_leader"]'
3. Teleoperate
Simple teleop Then you are ready to teleoperate your robot! Run this simple script (it won't connect and display the cameras):
python lerobot/scripts/control_robot.py \
--robot.type=so100 \
--robot.cameras='{}' \
--control.type=teleoperate
3.1 Teleop with displaying cameras
Follow this guide to setup your cameras. Then you will be able to display the cameras on your computer while you are teleoperating by running the following code. This is useful to prepare your setup before recording your first dataset.
python lerobot/scripts/control_robot.py \
--robot.type=so100 \
--control.type=teleoperate